Pages

Total Pageviews

Sunday, September 29, 2013

MY PLANS WERE FOILED

About 6 months ago, I got a free dresser from Kijiji.  It was very old, but not in bad shape, except it was missing the face of one of the drawers.  It was so old, that you could smell "antique" when the drawers were opened.  The seller told me that it had been her grandmother's and that she hadn't wanted to get rid of it, but she didn't know how to fix it.  I promised her that I would do something fabulous with it.


I do not have any tools that would help me fix it - no saw, no planer, nothing like that.  So my poor old dresser has sat in the garage - getting used as a "catch all" while I worked on other projects.  Such an awful way to treat the elderly, isn't it?  I thought about using mirrors on it, but I didn't want to spend a lot of money on something that might not turn out.

I searched "DIY old broken dressers" on Pinterest and an odd idea popped up.

TIN FOIL!  It would look mirrored, but wouldn't cost as much.  Plus, it would fix the broken mirror front.
I then searched "tin foil dresser" and beautiful projects appeared.


I loved this, but it was a bit boring for my dresser.


This one was beautiful, but too much tin foil (at least in my opinion).  I decided to do the drawer fronts with tinfoil, and then the rest in an antique finish.

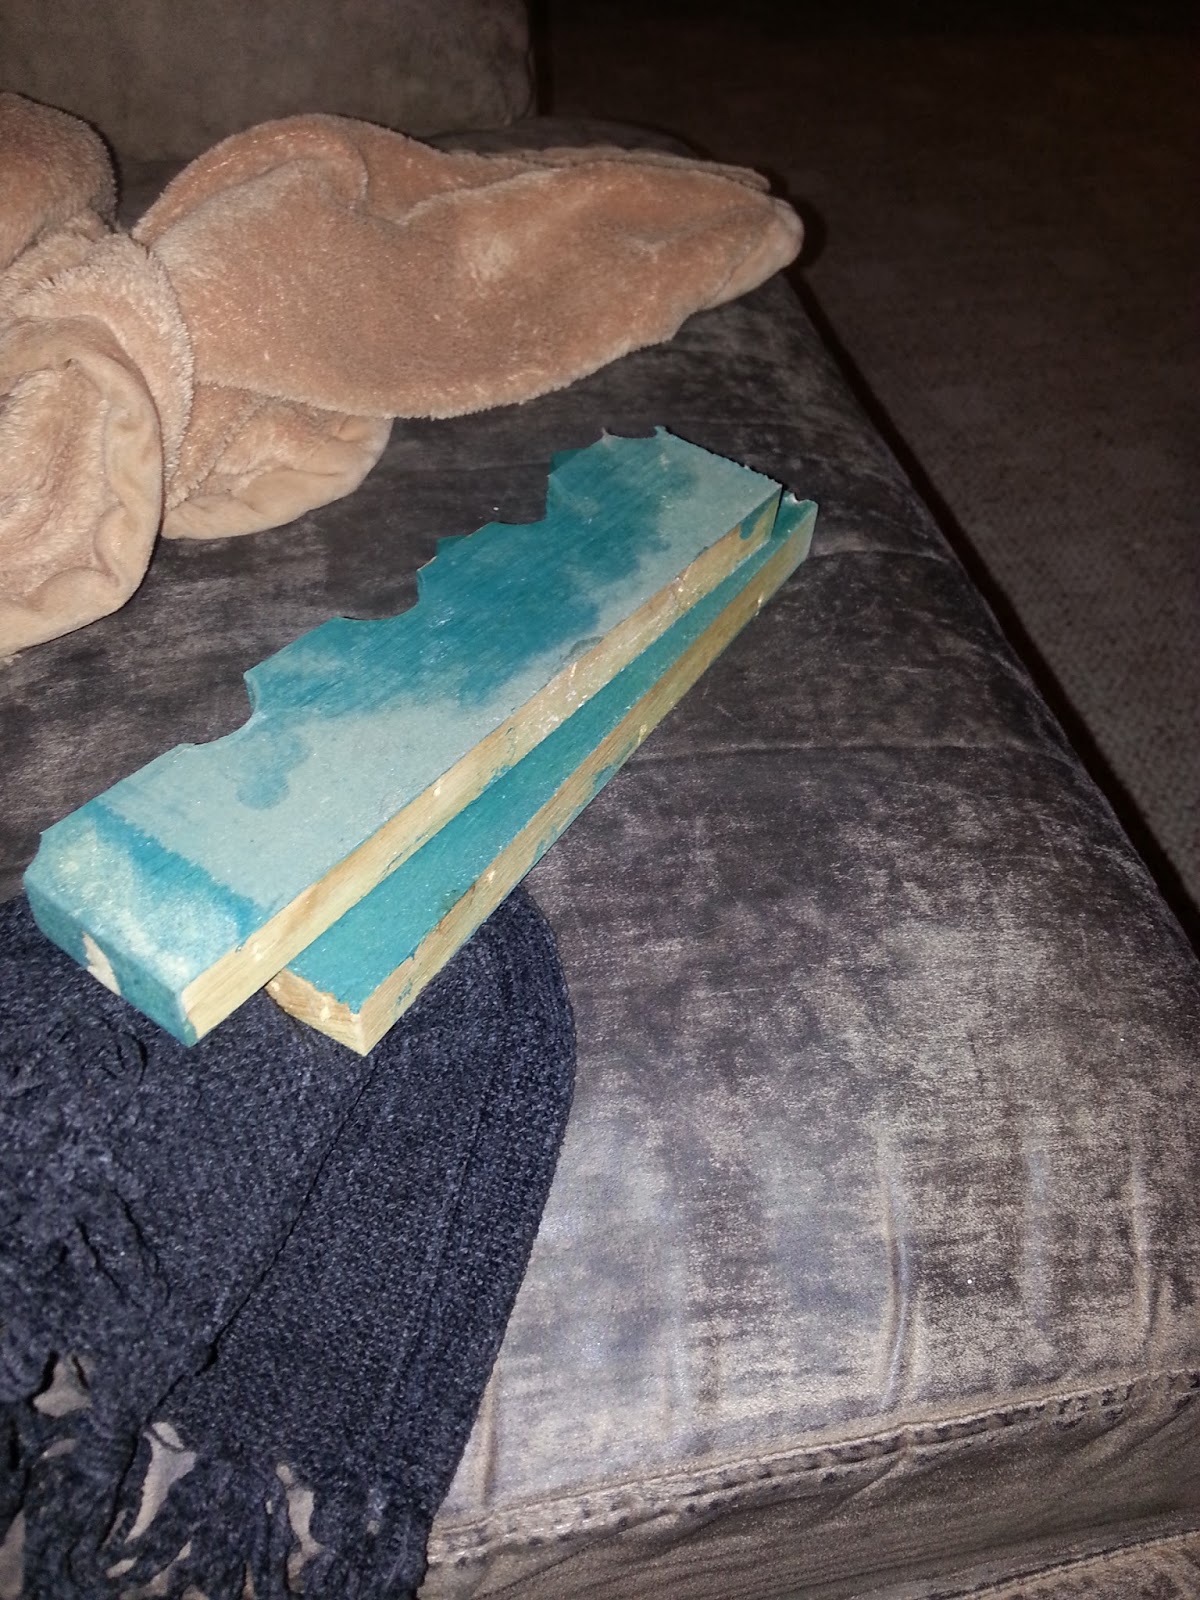
I got a can of oops paint in a soft gray colour (or so I thought)


It almost had a blue tinge to it, which was fine because I have blue accent pieces all over the place.  While that dried, I tackled the tin foil.  Let me tell you, trial and error.  lol

On the first drawer, I decided to do small, overlapping pieces.  First, I ripped off the foil and then scrunched it up.  Then I smoothed it out and painstakingly attached it to the drawer.  Took me about an hour to do one drawer.


I thought that was too much work.  So, next time I used tacky spray on the drawer, then 2 solid sheets of foil.  Much, much better.


That's a lot of modge podge ladies and gents.  I used almost a whole container of it on this project.

On my VERY FIRST TRIP to Hobby Lobby in August, I had purchased these knobs, especially for my dresser


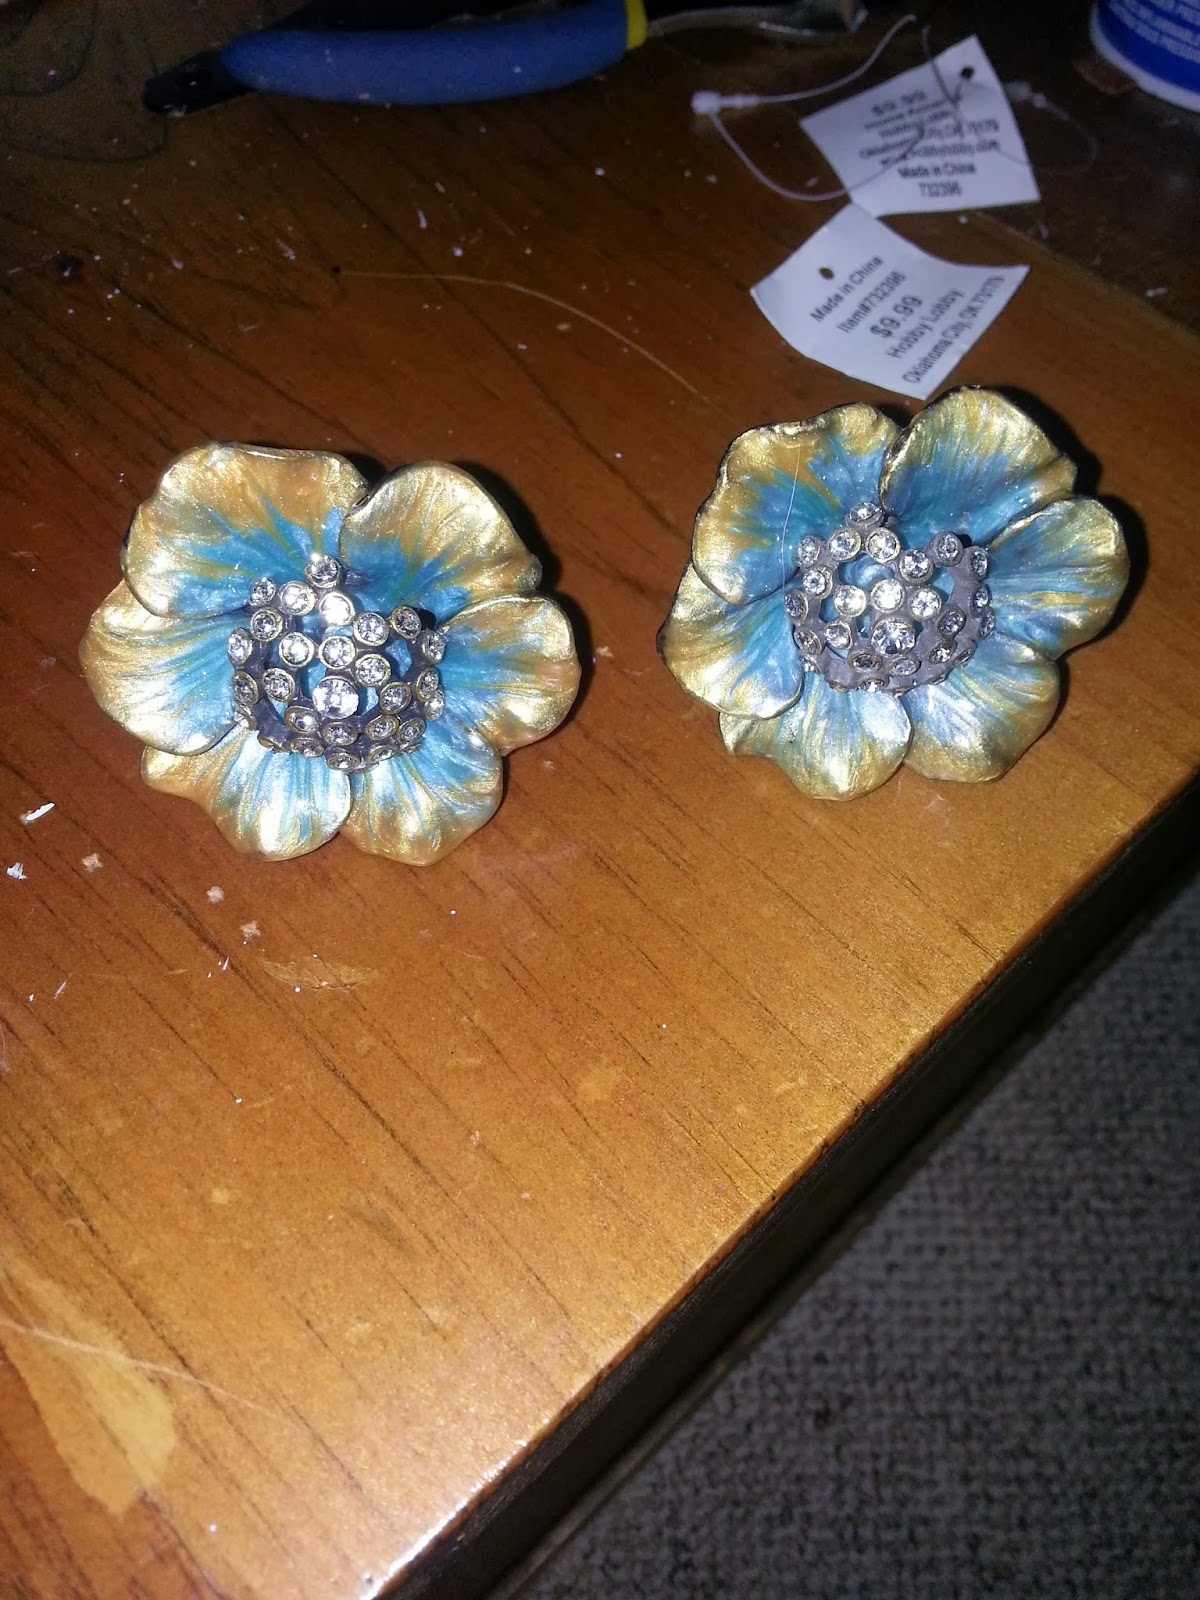
Just beautiful and only $3 each!  Next time we zoom down to Buffalo, I am budgeting at least $100 just for knobs!

While the tin foil dried, I started painting the dresser.  I used the same brush that had been in the gray paint and broke open the black paint.


The colour turned out gorgeous.  I was so excited!  So, while this paint was drying, I dabbed paint on the drawers and then quickly wiped the majority of it off.  This was VERY DIFFICULT, as it got in all of the crevices of the tinfoil and took at least 2 papertowels per drawer to clean off.

I didn't have enough knobs left, so I improvised and used 3 different types.  I am so flipping pleased at how well this turned out.


It is hard to tell from the pics, but it is a rich black/gray colour.  I will try and take a better picture once I carry it up to the room it is going to be in.

I would do this project again in a heart beat and I would recommend all of my fellows DIYs try it as well!

Partying here
Chic on a Shoestring Decorating
Lovely Crafty Home The Shabby Nest Pin It

Friday, September 27, 2013

A LEOPARD CAN CHANGE HER SPOTS

INTO STRIPES!!!  You all know from my posts that I love me some animal print on my furniture.  However, I am also loving all the other designs on furniture.

Like this


and this


and, OMG I AM IN LOVE, this


Since I have already done my chevrons for downstairs, hello pallet art.  And since I am too chicken to try the Marilyn Monroe chair, I decided to try the stripes.

My buddy Angie gave me this end table to do something with.


Nice bones, kind of boring - just what I was in the mood for.  Seeing as I STILL have a gallon of blue oops paint left, naturally this puppy was going to get a few coats of it.  But, since the wood was in good condition, I decided to do my "fake antique" look and just swipe the brush until there was no more paint left.  I love this technique because it lets the undercolour shine thru and I don't have to sand down any parts of the piece afterwards.


She, because anything this purdy has to be a she, looks pretty good, but she needed something.  STRIPES!
So easy to do.  I didn't even measure, I just eyed the top and put tape down and got some wonderful chocolate brown paint.


I love how it turned out.  So do a lot of my friends.  However, a lot don't like the stripe.  Isn't it amazing how everybody has different tastes?  Well, even if it is not to everybody's liking, at least they can't say I am boring, right? Pin It

Sunday, September 8, 2013

HANGING UP NOW

A while ago, I made myself a coat rack for my hall foyer.  I was pretty happy with it - until we painted our walls a neutral colour and my coat rack became blah.  I should have stained it, but I went with the natural look.


Now, it is too boring for my liking.  On the auction it goes.

About 6 months ago, I bought this on the auction.


My friend Angie was like "why did you buy the ugly shelf?"  lol.  Yes, it is ugly and the bottom looked like shark teeth.  But it was on $2.00 and I knew I could figure something out.

I took a hammer and whacked away at the teeth (yes, whacked is the technical term).


Once I pulled out the bazillion nails, I was left with this pretty nice piece of wood.


I had bought some pretty cute hooks on the auction, and I had a whole can of "oops" paint left in blue, so I decided to make a new coat rack.


I adore this paint colour.


I am liking it a lot.  As soon as I sell the other one, this one will get hung up.  Give a little character and flare to my hall. Pin It

Monday, September 2, 2013

JUMPING ON THE BANDWAGON

So there are two trends that I have been dying to try

Pallet art


and chevrons


I finally got my chance when I found these on the side of the road


When I went to Hobby Lobby 3 weeks ago FOR THE FIRST TIME EVER, I saw a huge pallet with chevrons and a mirror.  I looked at the price ($89) and almost had a coughing fit. I didn't have my phone turned on to take a pic (because of outrageous roaming charges), but I memorized that beautiful piece in my mind.

We are going to painting and redoing our basement family room and I need something massive to go on the walls. So, instead of making one of the pallet/chevron/mirror thingys (that's the technical term), I decided to make 2.

First, I bought a beautiful colour of paint called bittersweet chocolate.  Mmmmm, even the name gives me a craving.  Then, I got a can of oops paint in a grayish beige colour.  For $3, I decided to chance it.

Here's the background of the pallets once they were painted.


Pretty blah, eh?  But just wait...

I found a tutorial for chevons on pinterest and went to work


I don't know why I was scared to do this.  It was super easy and super quick.  I did one pallet dark and one light. I also did one the wide way and one the tall way - if that makes any sense.


I forgot to take a pic of the beige once, but I think you get the idea of what they are going to look like.

Next, I was on a mission to find 2 mirrors.  I wanted a round one and a square one.  Off to Goodwill and their 75% off sale.  Goodwill has 75% off on Sundays, but they never tell you beforehand which items are on sale.  Yesterday, it was green ticket items - whatever the hell that meant.  I honestly didn't care, until I found my two mirrors and got both of them for $5!!!!  One of regular price, but the other was 75% off.  WOOT!


I really liked the different shapes and designs of the mirrors.  Now, to paint them the trusty blue that I have all over my house.


Next, Gorillia Glue.


I love them.  Here's a pic to show you how big they really are


I LOVE THEM!!  Now, once I get this huge, design-challenged room painted, I will hang these beauties


I am so embarrassed by this space, but I have HUGE plans to make it a room that we will always be in. Stay tuned, as I start work on it next week and will post about the changes.

Pin It