Pages

Total Pageviews

Sunday, May 26, 2013

WELL RED

I had a beautiful desk that I refinished about 3 years ago and put in my spare bedroom.


I had made the chair to go with it, and even a matching mouse pad!  I love the desk, but I am redoing the spare room and decided that I wanted to put a more comfortable chair with the desk.  The current desk would be too small to accommodate the type of chair I was looking for.  So, I popped the desk and chair on the facebook auction, and it sold that night!!  Uh oh!  Where the heck was I going to put my computer?

CRAP!!!

While driving my daughter's friend home, I found a free desk on the side of the road, almost exactly like mine, but bigger.  WOOOOO HOOOOO.  I put it in the back of my jeep and brought this puppy home.

I took some pictures, but the memory card in my camera died and I didn't know until I tried to take the after shots.  Sigh.

Anyways, we are repainting the spare room, removing the bed and putting Abby Sue's zoo downstairs in her playroom.  The room is going to be a warm grey colour, so I wanted to bring something funky into the room where the desk was concerned.  The room now is so unappealing.


The bed gets used as a dumping ground and I am currently using my sewing desk for the computer.

I looked around Pinterest for some ideas, and I found this gorgeous desk makeover


I love this desk and decided to redo my new desk the same way.  I still had half a can of my ooops paint in red, as well as some nice white melamine bathroom paint - which would make the desk nice and shiny.

It took 6 coats of the red paint to get my drawers and handles looking nice and pretty.  I then sprayed them with Rustoleum's top coat.


Then I sprayed the desk so that the paint wouldn't get chipped off by everybody banging things against it.


What a crappy picture.  The top isn't blotchy, it is just still a little wet.

The only thing missing are the 2 knobs for the small drawer on the right.  One was missing and the other one was fugly.  I thought I had some knobs here, but I was wrong.  I am also way to impatient to wait to post.


I am loving the finished product.  I can hardly wait to put it in my new "office".  Pics of that will come soon too.

Total cost of this project:

Desk - $0 (free on the side of the road)
Paint - $0 (already at home)

So, I sold my other desk for $55, and got this one for free.  Can't beat that, can you?

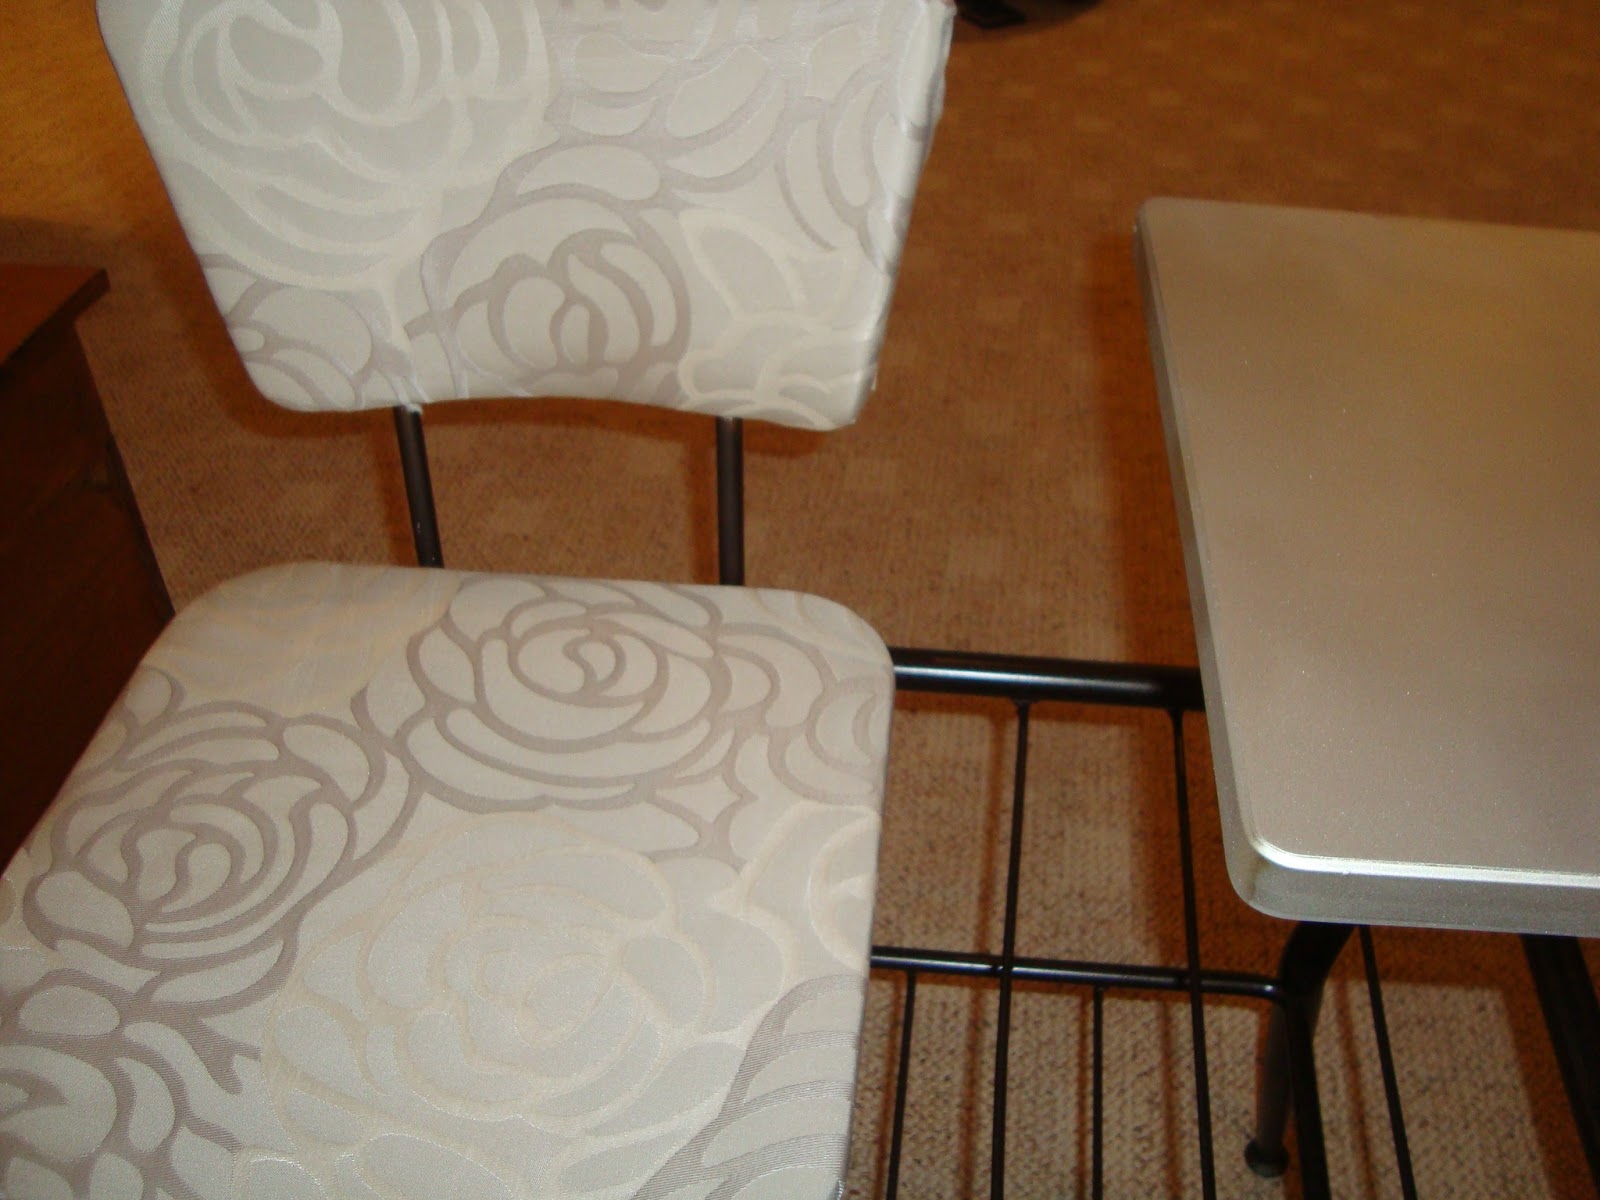
I will show you the chair once I get it finished as well.  So much to do!!!!!

Pin It

Sunday, May 19, 2013

NO MORE STOOLING AROUND

We have an Ipad and a Galaxy Tablet.  Neither one of them have a "home" or a place where they can safely sit and charge.  They hang out on nightstands, coffee tables, end tables, etc.  Well, at last week's facebook auction, I bid and won a cute little footstool with 2 drawers.  I figured I could drill a hole in the back of each drawer and put a tablet in each.  Safe haven for our expensive toys.


The stool itself was quite ugly - brown wood and an old heavy tweed material on the top.


But I knew that I wanted it. $10 later, and I had won it!!!

I had also bid a whopping 75 cents and won this fabulous material.


The only thing left to do was paint the stool and recover the top.  There were 4 screws holding the top down and it took about 2 hours to paint.  I used the red "oops" paint that I bought last week.

What a quick and easy (not to mention cute) project.


I still have to drill the holes in the back of the each drawer, but my drill need charging and I was too excited to wait to share.

Total cost of this project

Stool - $10
Material - $.75
Paint - 0

$10.75.  Not too shabby.  I love it.  I'll post a pick once I am totally finished and it is sitting in a place of honour in my living room.

Not a bad afternoon's work, eh? Pin It

Friday, May 17, 2013

LIGHT IT UP

My friend Angie has great ideas and can get her beautifully manicured hands on almost anything.  Last week, she sold me the most unattractive lamp that I have seen in a very long time.


She said that she knew I could make something out of it, maybe a tutu bottom and a pretty shade.  LIGHTBULB (no pun intended).  I grabbed it for 5 bucks and let it sit in my garage - for about 5 minutes!

Abby Sue's birthday included tutu skirts and I had made a black one for her


It has been thrown in the bottom of the closet since that day.  So, instead of paying for more material, I decided to use it for her lamp.  I asked her if I could use it while she was watching tv - that meant she wasn't listening and automatically said yes.  She can't get upset, because then she has to admit that she was really listening to me.  Score one for smart mommy!!

Since pink is her favorite colour, and since I still have some pretty pink paint left over from painting her ceiling


I decided to make this another inexpensive project, made with things I already had at home.

I had won 3 lampshades from the weekly facebook auction, and, since the shade on this lamp was grossly huge and just not right for my imagined fantastic lamp, it went into a garage sale and I used one of my new shades.  I bought some material from Fabricland for $4 and covered the shade.  I love the colours in this material


At first I thought it might be too dark, but once I glued it on, I totally fell for it.

The lamp was so simple to paint and took about an hour.  There was a small crack in the table, but I gorillia glued it and, for good measure, used duct tape on the underside.


Even just a coat of paint helped this poor table.  The tulle made it better.


And the shade made it fabulous!


I put it in her room and it is just perfect


You will notice that I didn't put tulle all the way around it.  That's because I knew it would go against a wall and I thought it was a waste.  I also knew the cat would play under it and I didn't want her yanking all of the material off.

I want to put some sort of ribbon around where the tulle is hot glued onto the table, but I couldn't wait that long to use it.  I'll get it done this weekend - because I am anal like that.

It goes so well in her reading nook, gives the corner a nice, cozy vibe


She hasn't seen it yet, but she will have a freak!!!    Notice how I put that cute little zebra stool in there too?  Perfect.

So, here's the before and after


Big difference!

Let's break down this little project:

lamp - $5
shade - $2
paint - $0
tulle - $0
material for shade - $4

Total cost of $11

I think it was totally worth that money, don't you?

Pin It

Saturday, May 11, 2013

CAN WE SWITCH SEATS?

I am a huge fan of free things.  And I love free chairs even more.  This one might be my absolute favorite.


This chair must be really old, because the amount of dust on it was incredible.  I sat it out in the light rain for about 5 minutes to get the dust and cobwebs off.  Then I started taking it apart.  

The seat was made of old leather, yes leather, and was FILTHY!


I am pretty sure it was a dark brown colour at one time.  The padding underneath was pretty cool too


I had a perfect shape that never ripped when I took the old material off.  I have never seen padding like this before.  

Now I had to think of something to do with the chair.  I have some really pretty material that I used to cover my kitchen chairs and there was enough left to do this chair.  I was going to go ORB on the colour, but then I decided I wanted to do a red chair.  I made my way to Home Depot in the rain, and stopped by the Oops Paints.  Am I ever glad I did!


The exact colour I was wanting and I didn't have to wait for them to mix it up!  I also want to use this colour on my tv stand (when I find one to paint).  The wood soaked up the paint pretty quickly


I ended up doing 3 coats.  The red still isn't a true red, and I really like that.  I stapled the material on the seat - I am getting to be a pro at that.


I always use the indoor/outdoor material because you can clean it with a cloth. Here's the finished product.


It is going up for auction tomorrow night!

Chair - 0
Paint - $3
Material - 0

Total cost - $3

I am now hard at work on my lamp, which I will probably put in my daughter's room.  Stay tuned.  

Pin It

Friday, May 10, 2013

CALL ME MAYBE

I have a thing for old telephone tables.  I know that most people don't even have landlines anymore, but I think that they are gorgeous.  I recently found one at Goodwill for $4.


Don't you just love how Diego always sticks his head into my pics?  Anyways, it was a god awful brown colour.  Everything was gold or bronze.  And the seat was GENUINE plastic.

It was actually an easy fix.  Out came the ORB spray (I love that stuff).  That took about 10 minutes and it dried super quick because the table is metal.

Next I used some material that I had in my closet.  I also painted the side table a soft silver (sorry, so excited to get it done that I totally forgot to take pictures).  Voila.  I now have a pretty little table that is for sale on my friend's auction for $25 beans.  Not a bad profit.


Total cost:

Table - $4.04
Paint - 0 (on hand)
Material - 0 (on hand)

Grand total:  $4.04.

Anybody else addicted to these types of tables?  I am off for 3 days, so crafting is gonna be a-happening.  Stay tuned!

Pin It